
2 minutes, 2 seconds
Email campaigns are a great way to reach your target audience. In this tutorial, we will show you how to get started with sending emails on CCAI.
Configure an API key
By configuring an API key, you will be able to send emails directly through your CCAI interface.
1. Sign up for SendGrid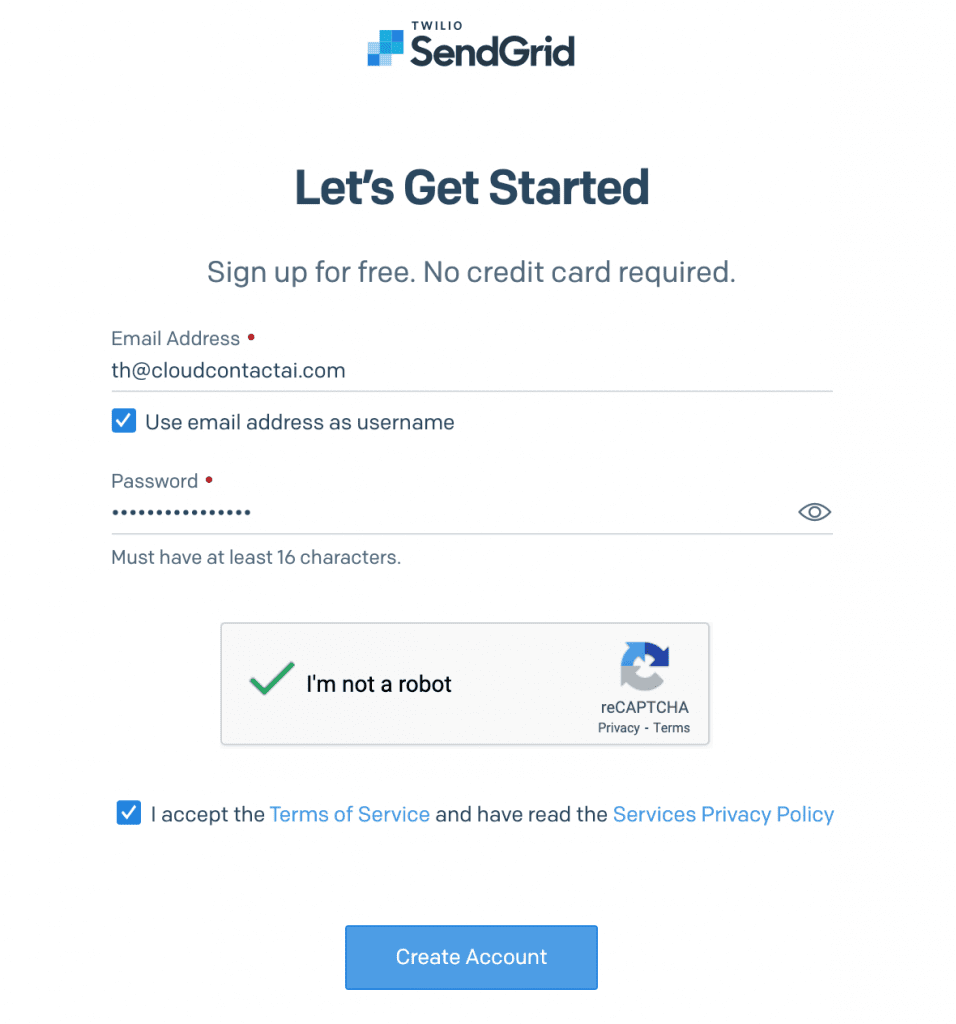
2. You’ll be directed to a screen to create your sender identity. Select Create a Single Sender or Authenticate a domain instead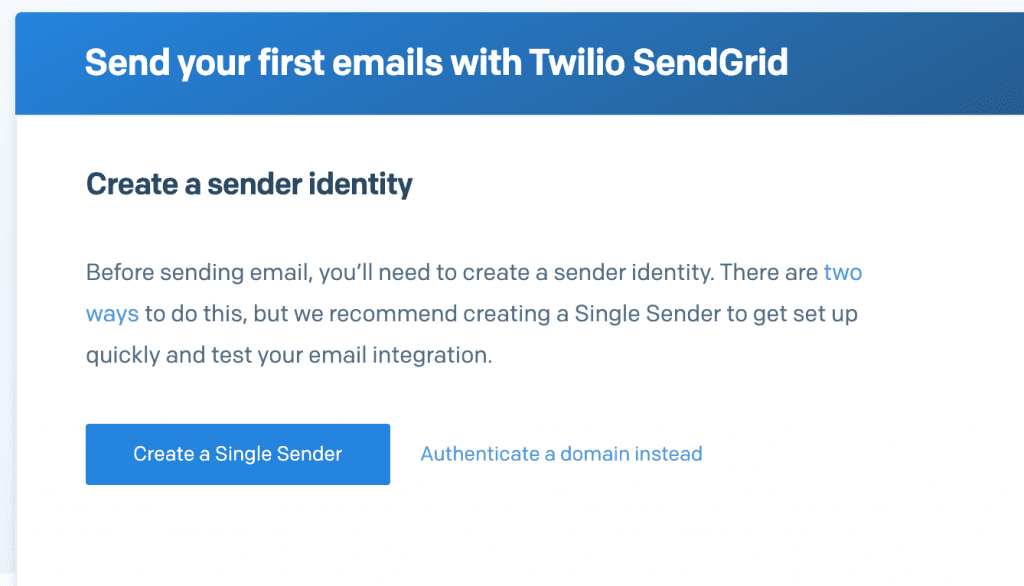
3. Fill in the required information and click Create
4. Once your identity has been verified, select Settings at the bottom of your menu and choose the option API Keys, then click Create API Key
5. Name your API Key, click Create & View, then copy your API key and store it somewhere in case you need to reference it later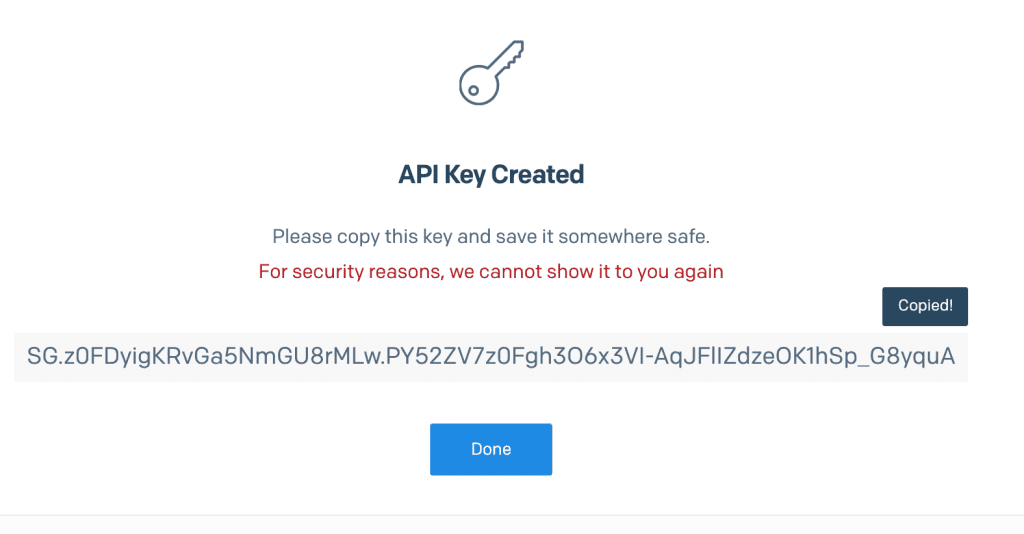
6. In your CCAI account, click Settings at the bottom of your menu and select the option Email Config, fill in the email you would like to send from and paste your API key in, and click Save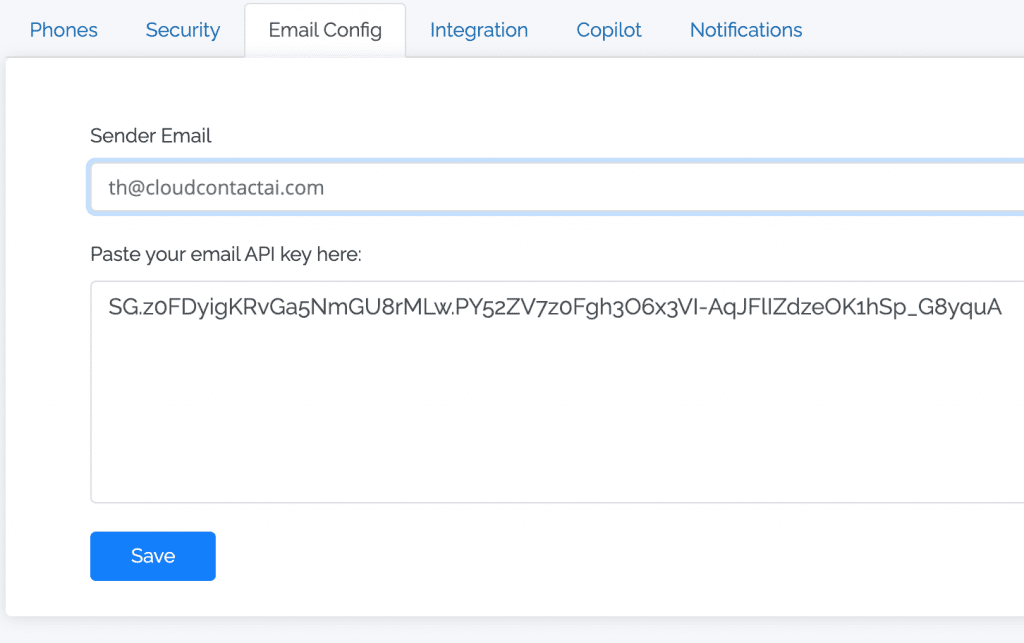
Upload contacts
Have an existing customer list? Easily upload your contacts into CCAI and ramp up your multi-channel outreach.
1. Click on the Contacts tab in the left-hand menu and click Create Contact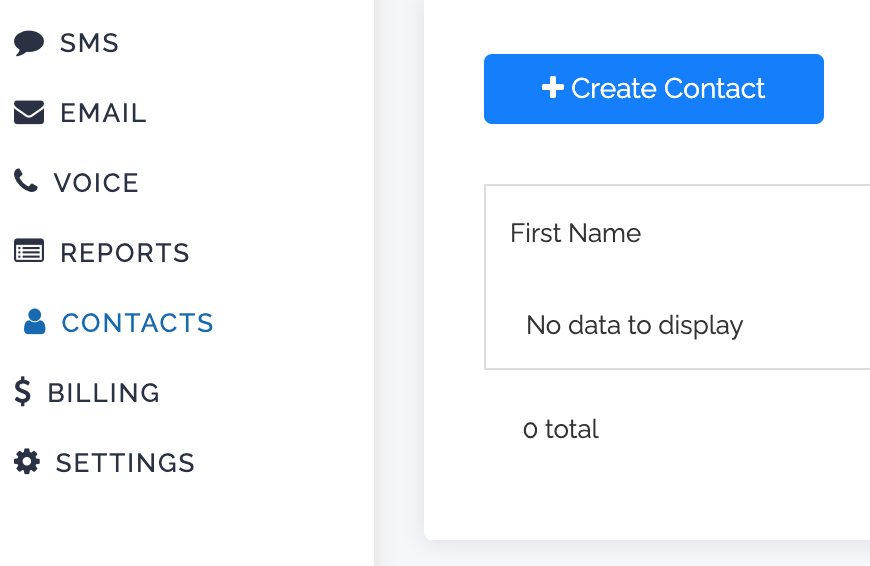
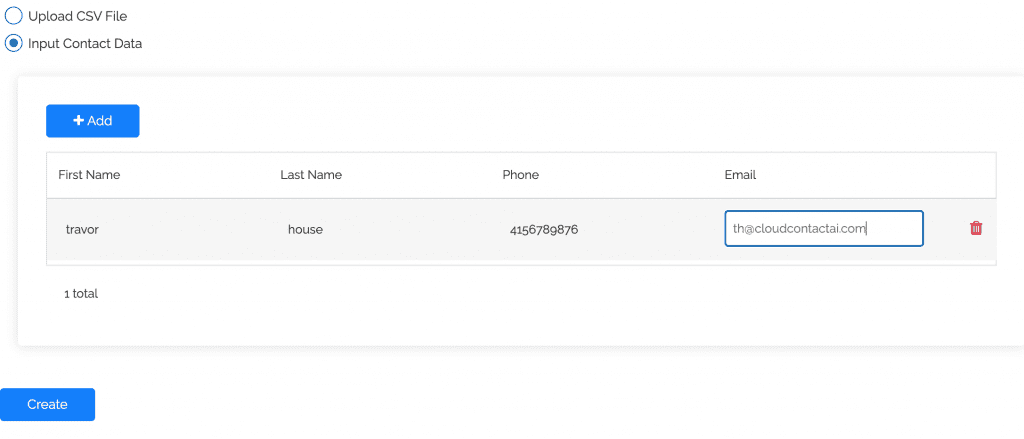
2. Choose between single contact upload or CSV
- For single upload:
a. Click Add
b. Enter information
c. Click Save
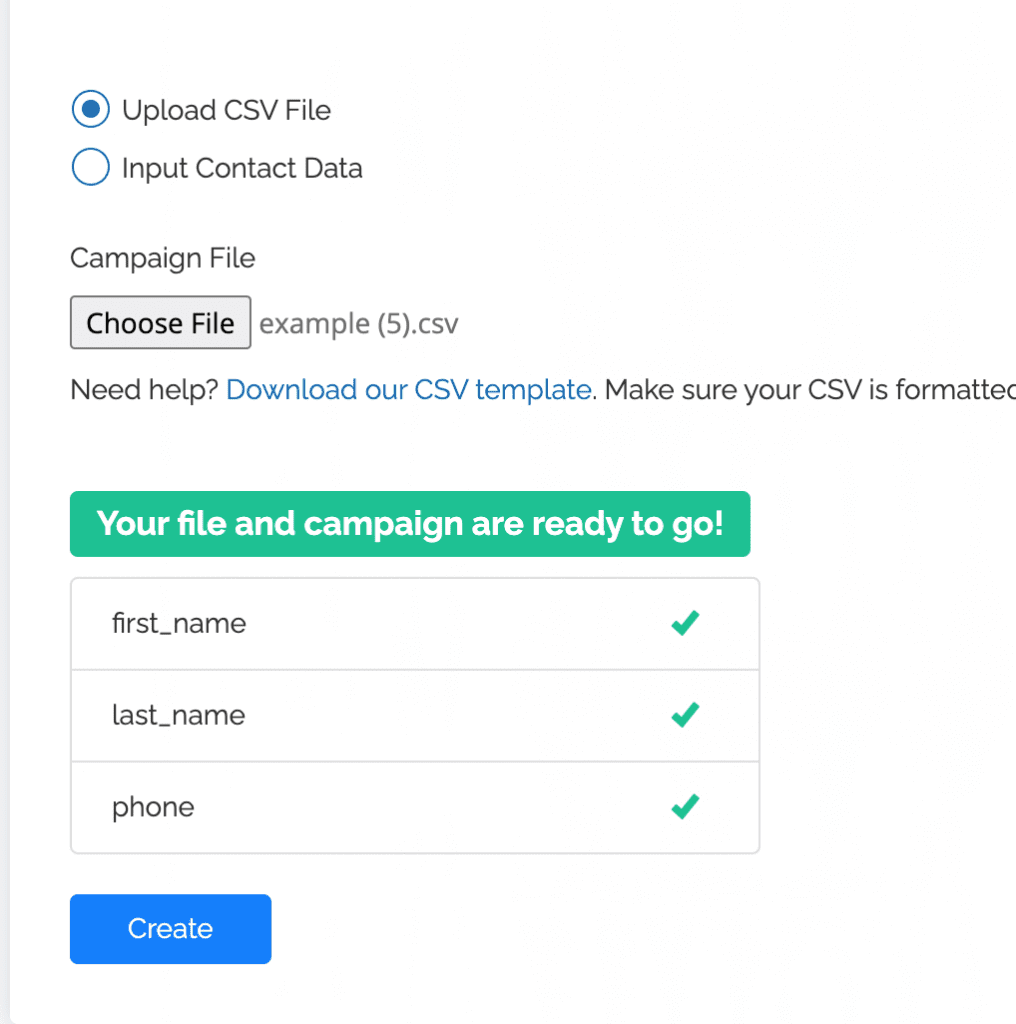
- For CSV upload:
a. Download and check our CSV Template for proper contact upload
b. Click Choose a file and select your list – ensure your list is uploaded in CSV format
c. Click Create
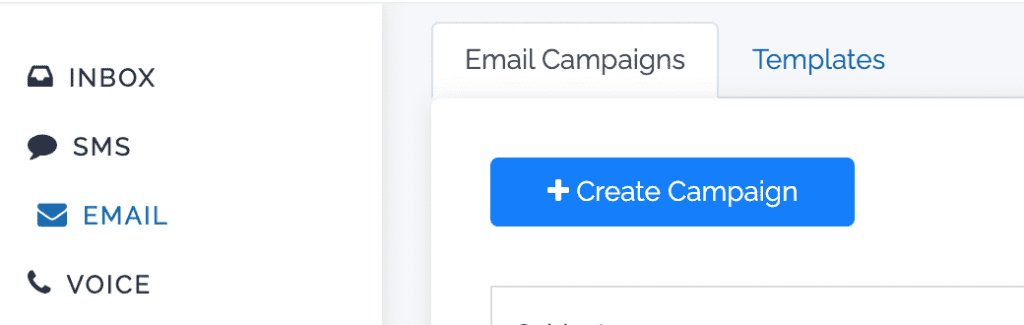
Create a campaign
Creating emails is fun and easy with CCAI. Our comprehensive interface enables you to construct eye-catching content that your audience will love and engage with.
1. Configure your SendGrid API if you haven’t already, then select the Email tab in the menu and click +Create Campaign
2. Name your campaign (This will be the subject line of your email), select a time to send, and make sure the sending email is correct

3. Use the drag-and-drop email builder to compose your email

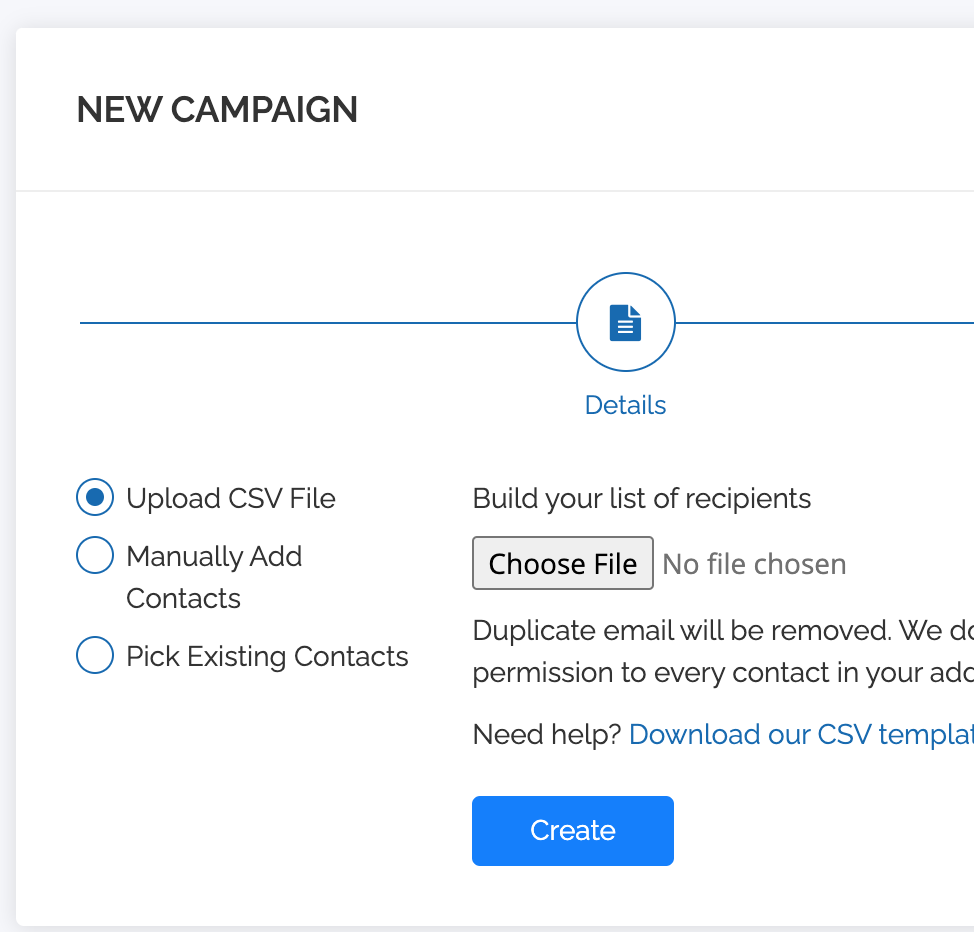
4. Upload a new contact list, manually add contacts, or use existing contacts

5. Upload a new contact list, manually add contacts, or use existing contacts
6. Click Create and your message will be sent out
Congratulations – your first email campaign is on its way and should be arriving in the recipient’s inbox momentarily!
Now that you’ve unlocked the power of CCAI, you are ready to start building connections with your customers.