
3 minutes, 44 seconds
Cloud Contact AI (CCAI) is a multi-channel communication platform that enables you to reach your customers through SMS, email, and VoIP campaigns. Our aim is to streamline customer engagement by merging communication channels into one platform for easy outreach and customer management.
CCAI is a web-based application suitable for most web browsers. Your team doesn’t have to worry about massive downloads or installations; create an account and reach customers from your web browser the right way.
This guide shows you how to get started on CCAI so that you can reach customers fast, far, and broad with campaigns geared for engagement.
Roadmap to customer engagement
Here’s what you’ll learn how to do:
- Set up a free account
- Upload contacts
- Create a campaign
- Analyze campaign reports
Create your CCAI account
1. Begin by navigating to cloudcontactai.com and click Sign Up on the top right-hand corner of the header on cloudcontactai.com
2. On the sign up page, CCAI will ask you for your email, first, and last name. Fill this out then click Next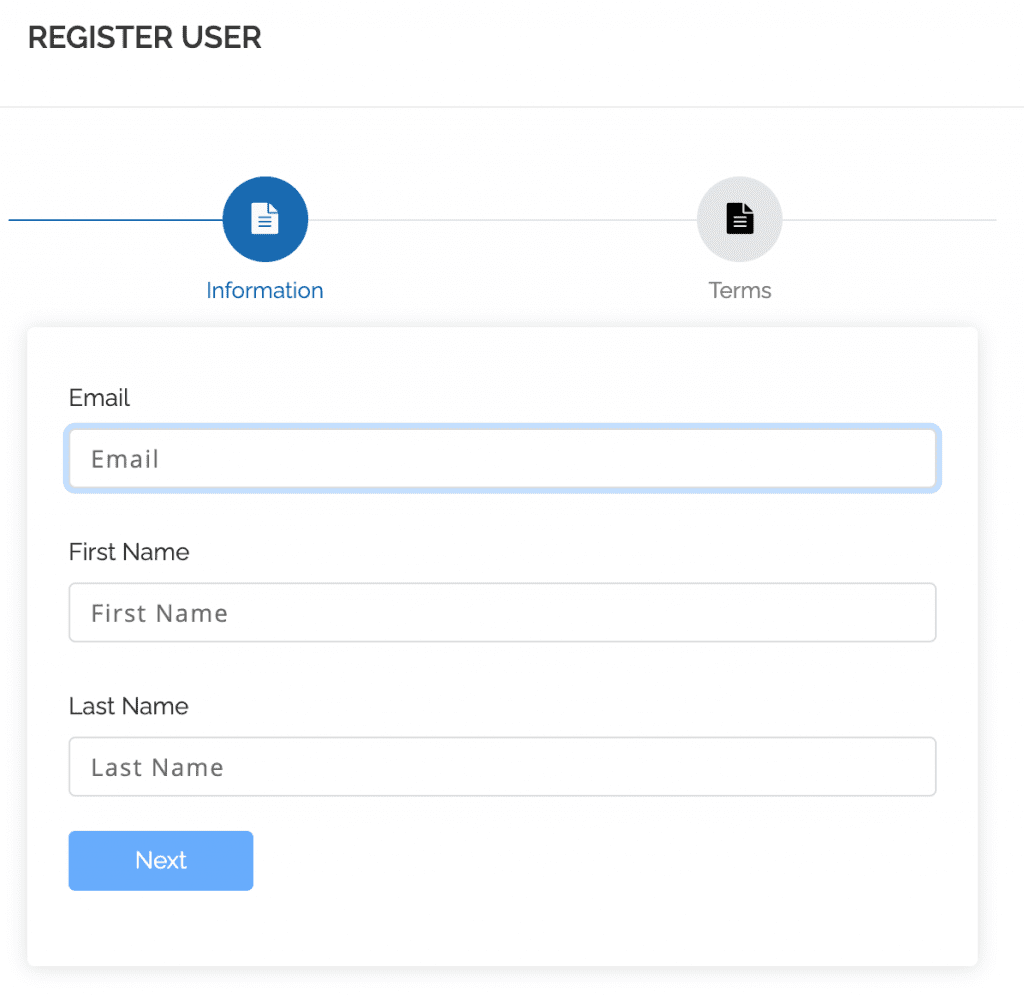
3. Read over CCAI’s Terms and Conditions displayed in the text box. Scroll through all of the terms to unlock the checkbox that says Agree to terms and conditions; check the box and click Register

4. Next, you’ll receive an email asking you to verify your account. Click the Confirm Now button, which will direct you to CCAI to set and confirm a password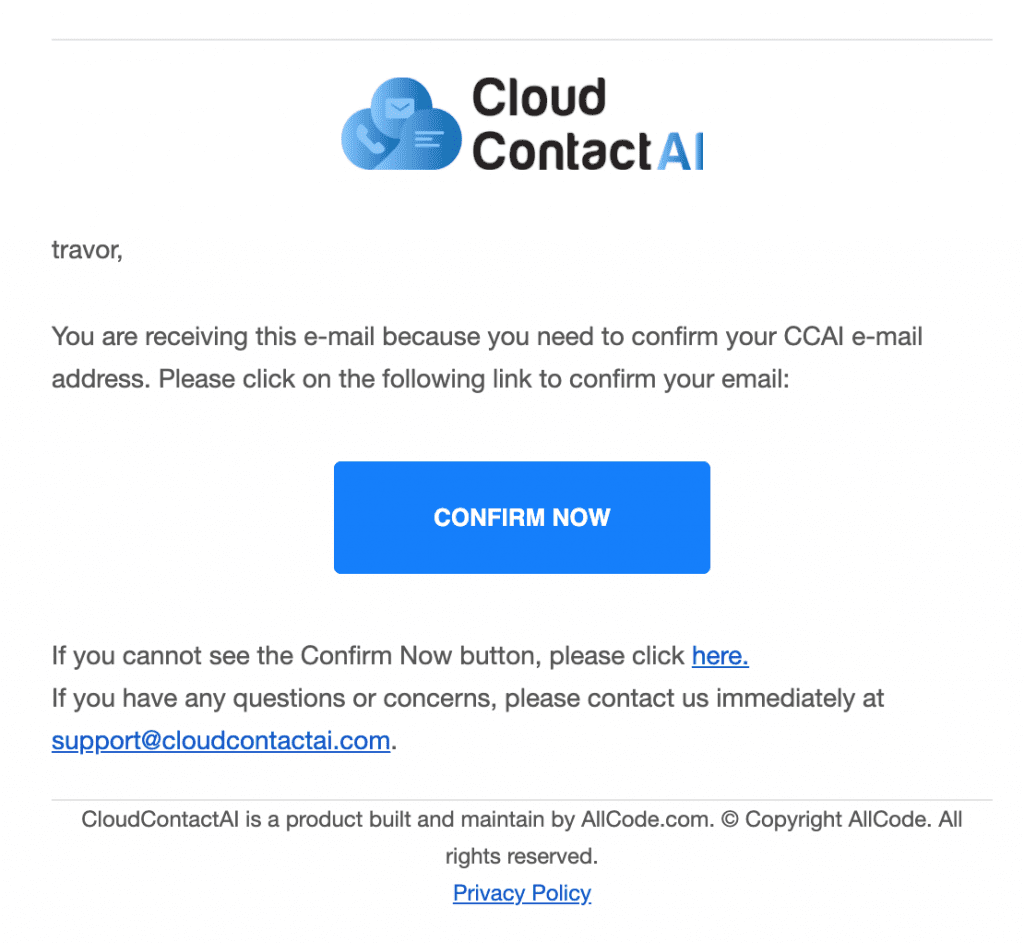
5. After you’ve set your password, you’ll be sent to the “Personalize your experience” page where you will be required to answer a few questions and configure a phone number. After you’ve filled this out, click Save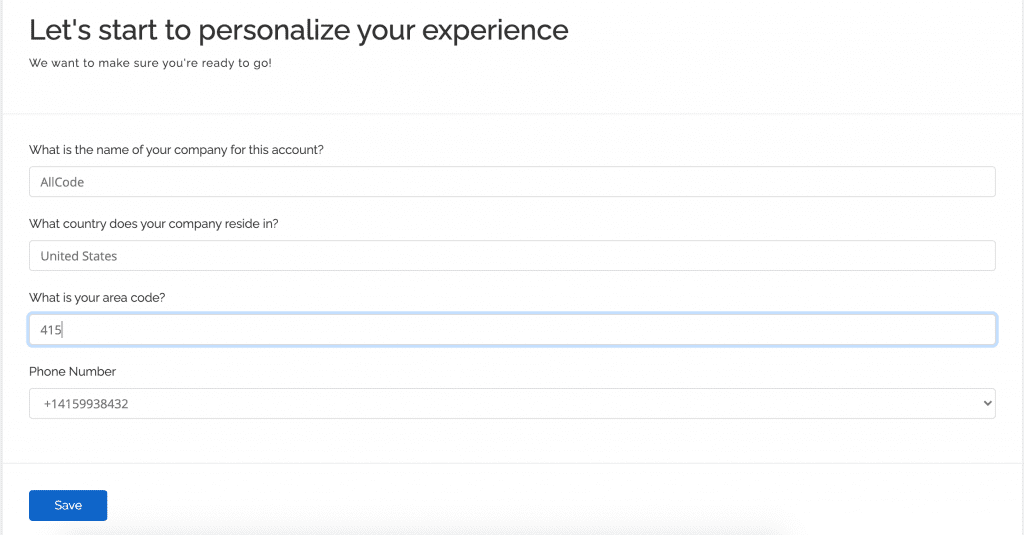
Upload contacts
Have an existing customer list? Easily upload your contacts into CCAI and ramp up your multi-channel outreach.
1. Click on the Contacts tab in the left-hand menu and click Create Contact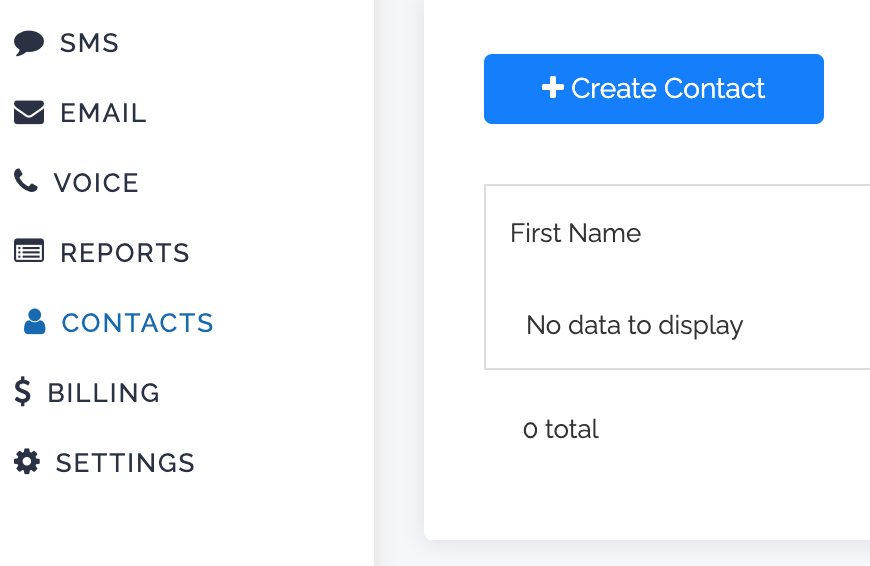
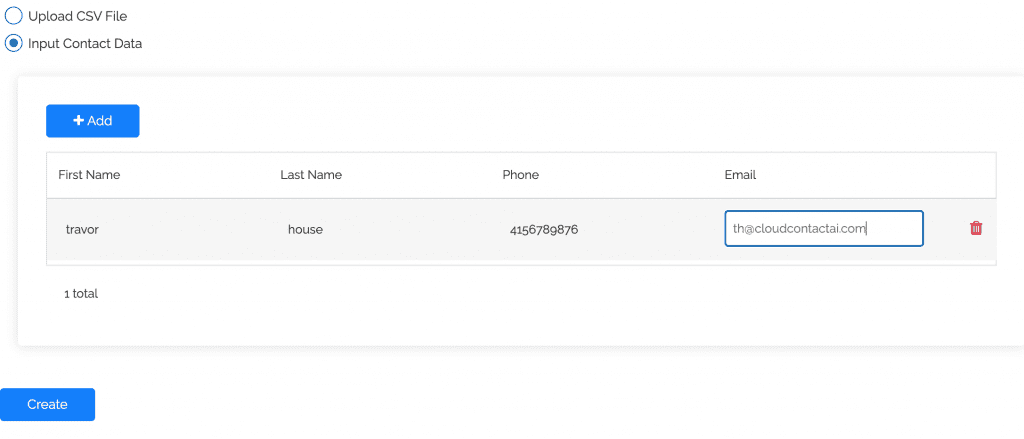
2. Choose between single contact upload or CSV
- For single upload:
a. Click Add
b. Enter information
c. Click Save
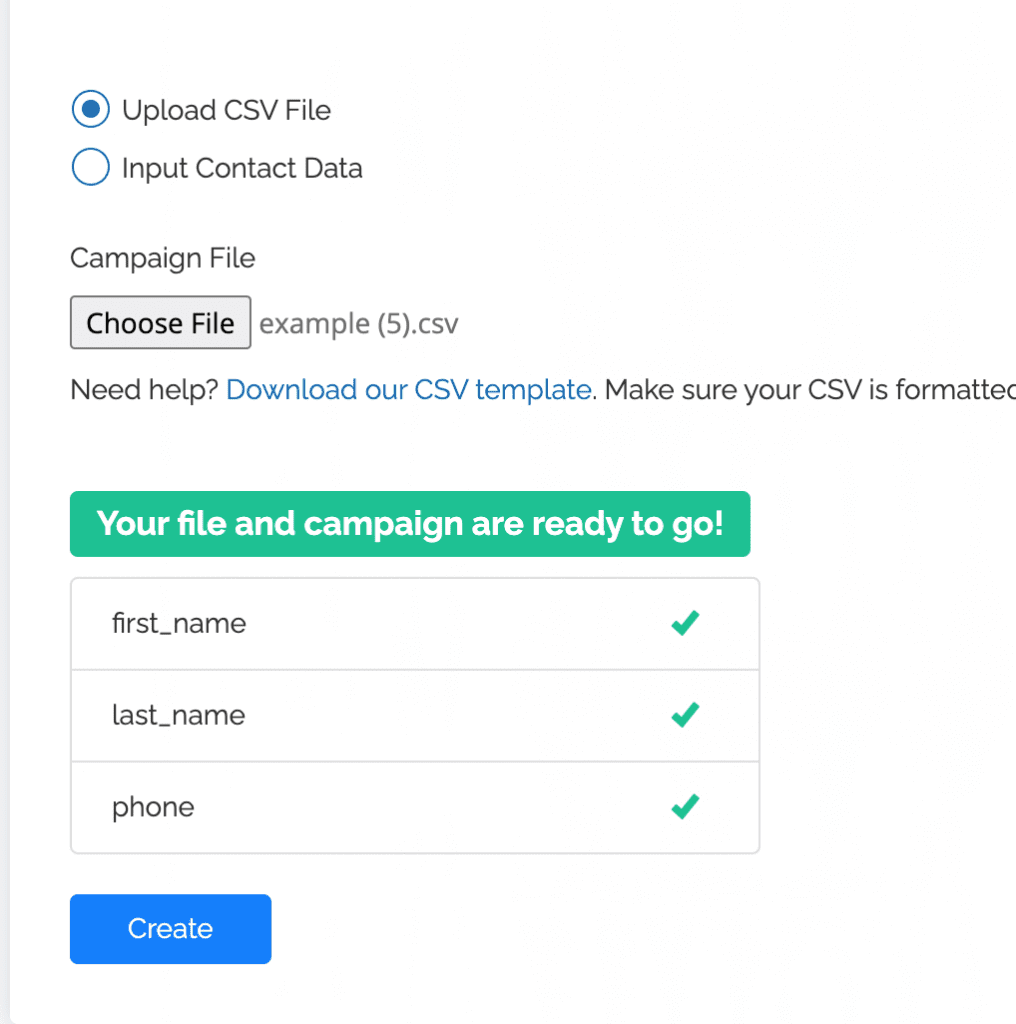
- For CSV upload:
a. Download and check our CSV Template for proper contact upload
b. Click Choose a file and select your list – ensure your list is uploaded in CSV format
c. Click Create
Create a campaign
Creating emails is fun and easy with CCAI. Our comprehensive interface enables you to construct eye-catching content that your audience will love and engage with.
For SMS campaigns
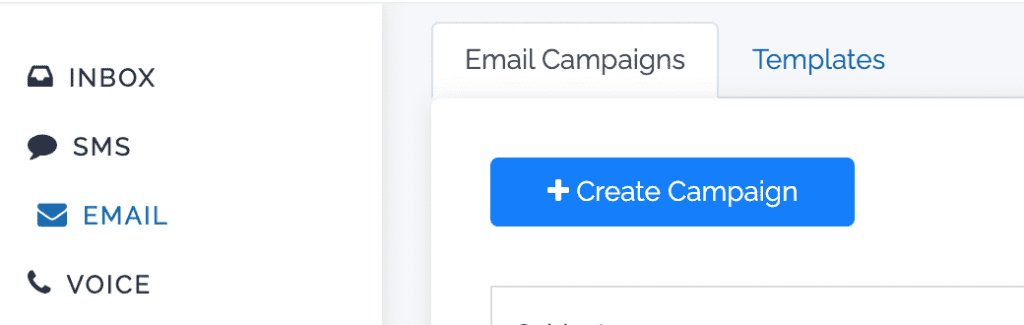
1. Select the SMS tab in the menu and click +Create Campaign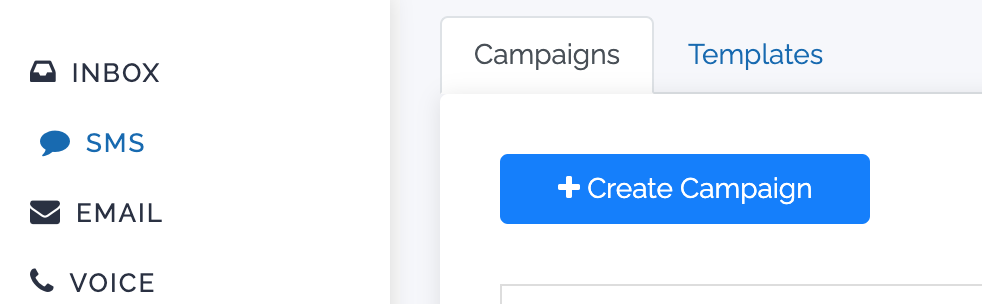
2. Name your campaign, select a time to send, choose the number you would like to send from, construct the message to your recipients, and click Next
- Alternatively, you can use a pre-configured template by clicking on Use Template
- CCAI supports dynamic tags to customize your message for each recipient. Select the drop-down menu titled Contact field to choose the tag you would like to input in your message

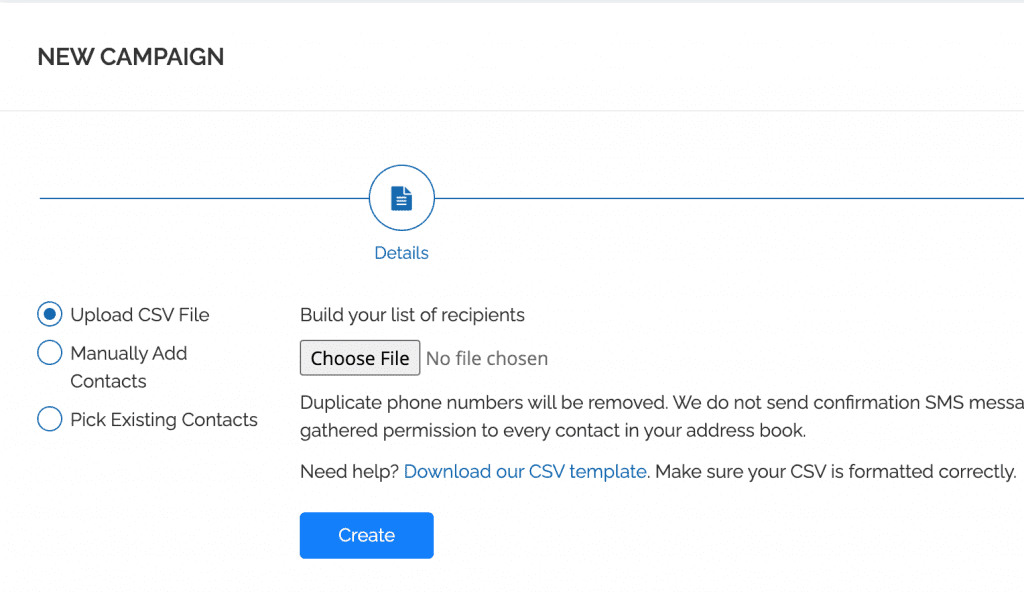
3. You will be directed to the contacts page where you can upload a new contact list, manually add contacts, or use existing contacts
4. Click Create and your message will be sent out immediately
Give yourself a quick pat on the back for sending your first campaign with CCAI!
For Email campaigns
1. Configure your SendGrid API if you haven’t already, then select the Email tab in the menu and click +Create Campaign
2. Name your campaign (This will be the subject line of your email), select a time to send, and make sure the sending email is correct

3. Use the drag-and-drop email builder to compose your email

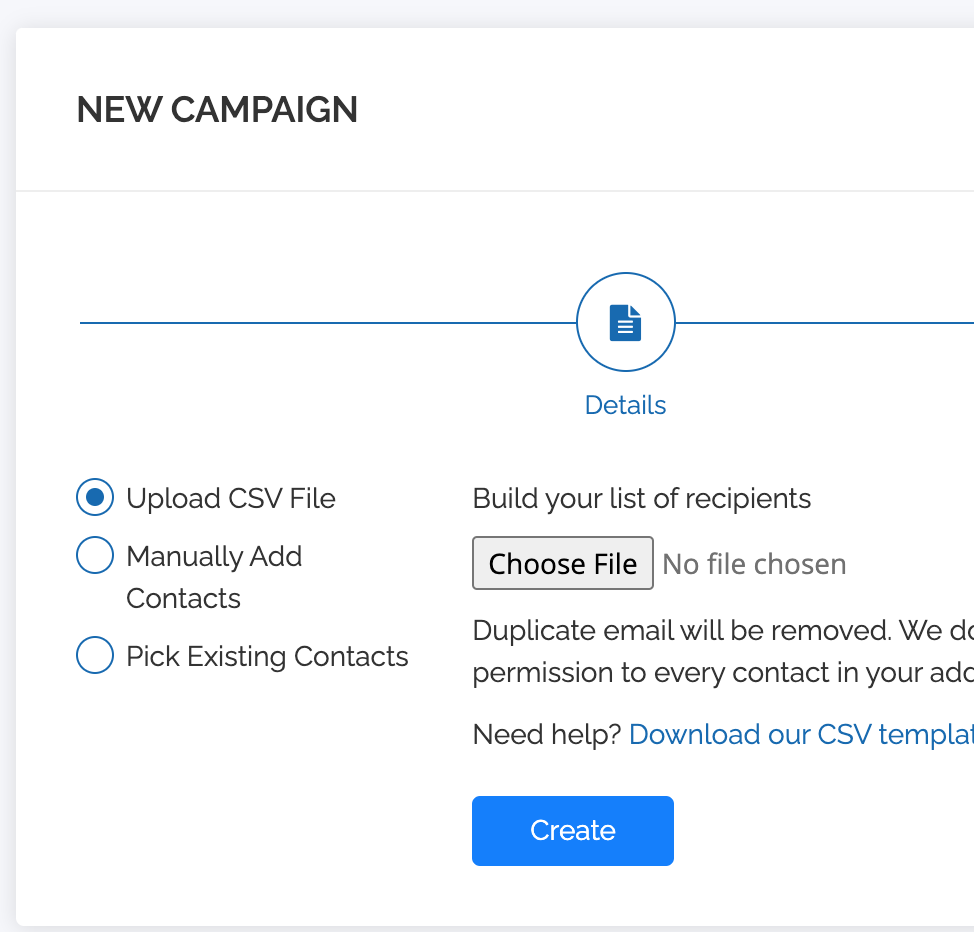
4. Upload a new contact list, manually add contacts, or use existing contacts

5. Upload a new contact list, manually add contacts, or use existing contacts
6. Click Create and your message will be sent out
Your first email campaign is on its way and should be arriving in the recipient’s inbox momentarily!
Analyze campaign reports
Navigate to the Reports tab in the menu. Here, you can click Download CSV to see to whom, when, and how the message was sent. It will also show incoming messages that were responses to the campaign.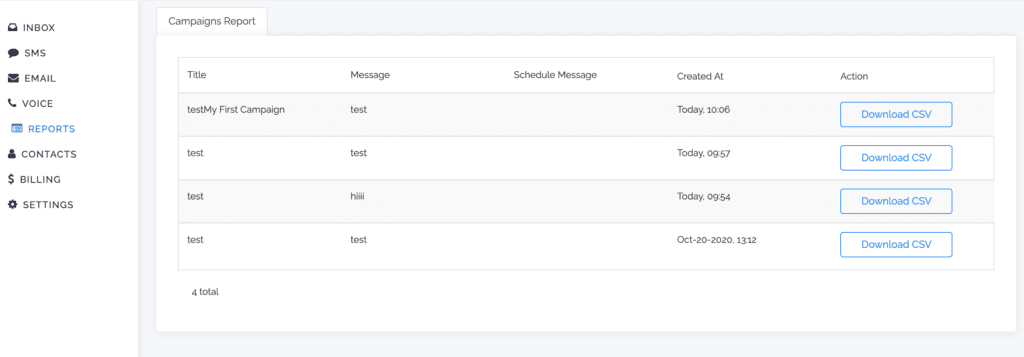
To see the email reports, go to the Email tab on the left hand side and click on the campaign you’d like to analyze. Here, you can see who received the message as well as error reports and % of messages that were successfully sent out.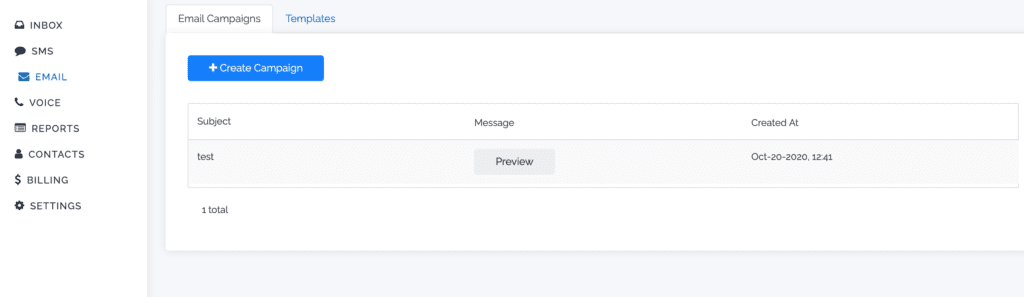
Additional Support
Our staff is highly trained and eager to provide you with the needed support to start connecting with your customers. For extra help, reach out to our website chatbot or send us an email at [email protected].

